Things have been so crazy this summer my emails have been piling up and I haven't gotten around to blogging about so many of the things I want to blog about. The stack of emails is so large I get heartburn just looking at it! LOL LOL
However, every once in a while I get an email suggesting that I take a look at this or that. I generally don't accept most of them as my blogging opinion isn't for sale, but every once in awhile I get one that piques my curiosity and lets me play a little.
Well, one of those emails that I got back in June suggested that I review an online collage service. Here's the gist of the email:
Hello Linda,
At www.photovisi.com we have developed a free online service that lets you create collages from your photos easily. I'm trying to spread the word about our service, and think readers of Tips for Crafters on the Web would be interested in what it can do.
We've put extra effort into giving users a quality selection of collage designs and options for customization. It's very easy to use too: select one of the many collage templates, add your photos and then customize by dragging items around. After the collage is finished it's available for download.
I'd be really happy if you decide to write a short post about Photovisi.
Thanks,
Maurice
http://www.photovisi.com
According to their website: Photovisi is a free and easy to use online tool to create photo collages. Select one of the many collage templates, add your photos and then customize by dragging items around. After the collage is finished, it's available for download and print! Want to try it out?
So, I thought why not?
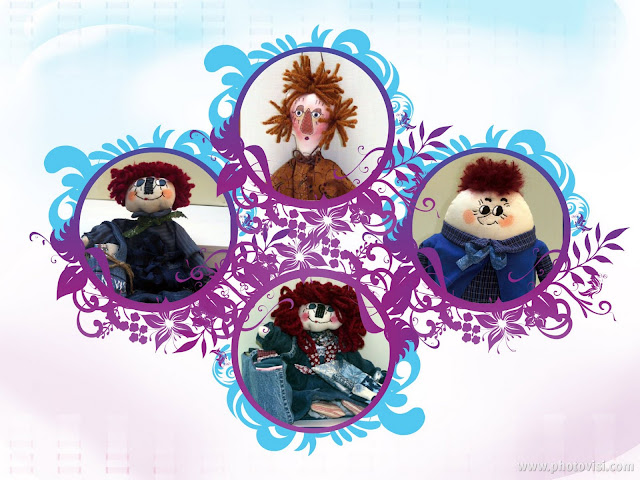
There were three different collage sections with 12 collage templates each to choose from. So, I picked one. Then I added my photos. I could add photo's from my computer, photo's from my webcam, add my own background or change my particular templates background to another from their selection, or add more shapes from this templates selection to my collage. So, I chose 4 doll pictures from my computer and added them as the collage that I had chosen to fit 4 pictures.
All of the doll pictures I take are cropped and bordered. I quickly learned that square pictures are the best size for the Photovisi.com collages so I had to crop them. You just select the picture by double clicking it and then hit the crop button. A cropping tool comes up that you can then apply to your picture. You can also add a background photo if you want to or change the background color.
It seems the crop tool works best on the larger pictures so upload the largest size picture and then crop it to a square picture. When I tried uploading smaller size pictures from my computer that were already cropped and square the crop tool didn't work. It froze and then I had to start over.
You can also enlarge the size of your photo, move it around, or rotate it any way you want. The same is true for any of the shapes you add. You can move them around, re-size them, and rotate them until you get the collage you want.
After you've added your images and have the collage you want then you save the collage. In save you are given several resolution options for your download and can decide if you want to publish it to the Photovisi.com gallery, add a title, and add keywords.
I selected the largest resolution as I always like to re-size my images down to several different sizes that I can use on my websites and blogs. I did not check the add to the gallery as I didn't want to add my collages to the public gallery. I added a title, but didn't add the keywords. I figured that the keywords were only good for the search engines and if you weren't part of the public gallery then you wouldn't need the keywords anyways.
After I saved my collage I was prompted to "click here to download your collage!" So, of course, I did and saved it. One thing I did note was that the collages you create are only saved on Photovisi.com for 2 days so if you want to save your collage you have to download it and save it to your computer.
I was then prompted to share my collage via email so I sent it to myself. Then I was asked if I wanted to "Click here to get your collage printed on mugs, posters and more!" or "Click here to download your collage" and I chose the latter to download. I was also prompted if I liked Photovisi.com to share it on any of the social networking websites. The email feature and share button are great for sharing your collage with family and friends.
Basically, I found the whole process quick and easy to do and I had no problems along the way. The only issue I ran into was when I signed up the activation email was sent to my spam account, which is par for the course these days for computer generated emails.
I had selected a 1920x1440 resolution so the collage I downloaded was large. If I wanted to use it on my websites or blogs I would need to re-size it, which would be no problem.
My collage was saved in My Gallery on Photovisi.com so I could view it there (at least for two days from the date of creation) and create some more. I could also view all the collages in the Photovisi.com public gallery to see what everyone else was creating.
I figured that in My Gallery that not only would all my collages be shown, but there would be a button to create another. That wasn't the case. I soon learned that to create another collage I would need to go back to the home page and click the "click here to start" button to start the process over.
The first collage I created is shown in the picture at the top of this post. It was extremely quick and easy to do, including the cropping.
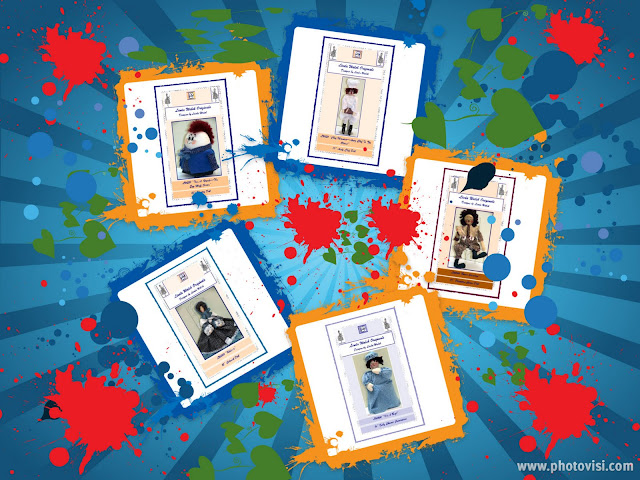
So, I decided to try another. This time I added some of my pattern pictures, a background image I liked, and different shapes. I was able to easily add the shapes and then re-size them for the size I wanted and to easily move them around the collage. Plus, I was able to easily rotate them to get them to be exactly where and how I wanted them. It was all quick and easy to do.
Here's the results:

Since I was just playing around with my collage I wasn't concerned as to whether or not this would be the best way to display my patterns. Obviously, in a collage it would be better to have larger pictures so as to enhance your product display. However, for these purposes this suited me just fine.
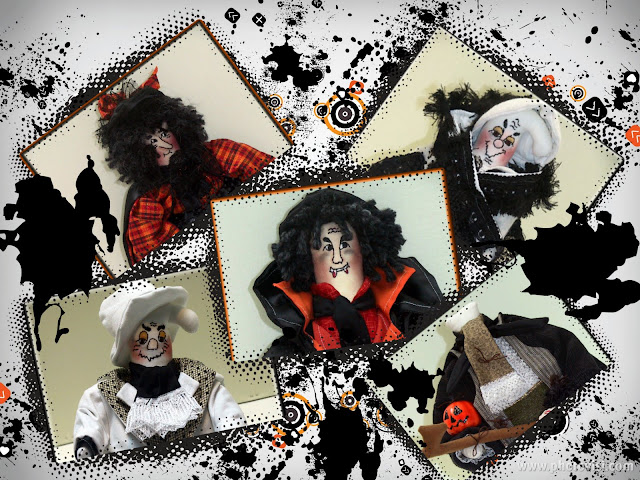
So, I decided to play again. This time with some of my Halloween designs. At first the images that I uploaded were not large enough to be cropped and when I tried to do so the crop tool froze. However, when I uploaded larger images the crop tool worked fine. Here's the results:

I also checked my email to see how the collage that I emailed to myself came out. It was great. Large and clear enough to be easily viewed in my email.
All in all I think this would be a great way for anyone to create collages and share their photo's. It would be a lot of fun for Mom's, Dad's, and the kids to create and share their photo's together. And, then email or share them with family and friends.
As far as for small business use, if you're looking for a quick way to add a splash of color to your product images, add different backgrounds or shapes to your product images, create some cute advertising buttons, or create a quick newsletter or blog post collage picture this is a quick and easy website to utilize for those purposes. Collage would also be a great way to easily add multiple product images to your website or blog within one picture.
All in all I liked the website. It would be nice, however, if they were to move the Google ads from the middle of the page - like to the top or bottom. I understand why they're doing it, but it's a little annoying seeing it there in the middle of every screen.
Thanks, for the suggestion, Maurice. I had fun playing around. Now I'd better get back to work - or maybe not. Maybe another collage would be fun.......

No comments:
Post a Comment